


ClipMaker User's Manual
Creation of your own animation clips.
If you need something really extraordinary, and you feel like an artist or there’s simply a very important part ahead and you need to draw everybody’s attention, then you can create your own animations right on our site. It is as simple as playing a game.
Further we discuss creation of an animation clip step by step.
-
Open page “LEDbuckle” on our site.
-
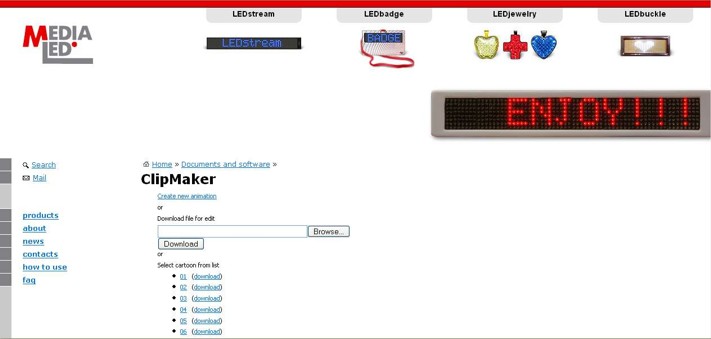
Choose what you want to do – to create a new clip or to edit an old one.
-
For editing the old clip, press button “browse”, choose the clip on your computer and press button “download”. After downloading, you may start editing. But for now we will create a new animation clip, therefore we press the link “Create new animation” and we get to the page with the program that helps to create animations.
-
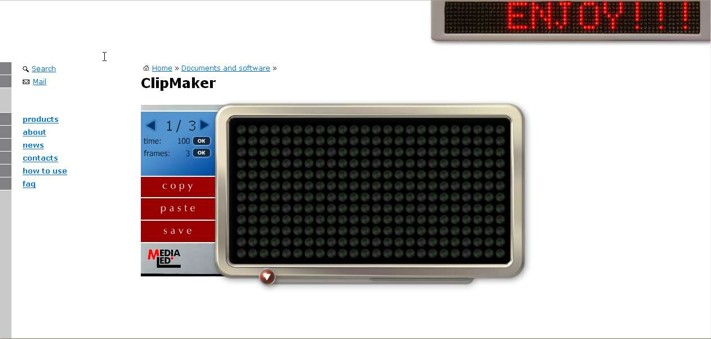
We specify how many frames will be in the clip. For that, we click in the window “frame” and determine the desired number of frames. The number of frames cannot exceed 70 frames. Press “OK”.
-
Now let’s start creating the first frame. For that, click on pixels on a screen. After each click, the pixel turns red. If you need to turn the pixel off, click on the pixel one more time. This way, by clicking on pixels we need we create the picture of your first frame.
-
Then we have to determine the duration of a frame. It can be anywhere from 1 to 255 units. One unit equals 0.1 sec. For the duration, click on the “time” window, type the desired length in units and press “OK”.
-
Now we turn to the next frame by clicking on the arrow in the upper left corner.
-
A hint: if the next frame will be just a slightly different from the previous one, just use copy and paste.
-
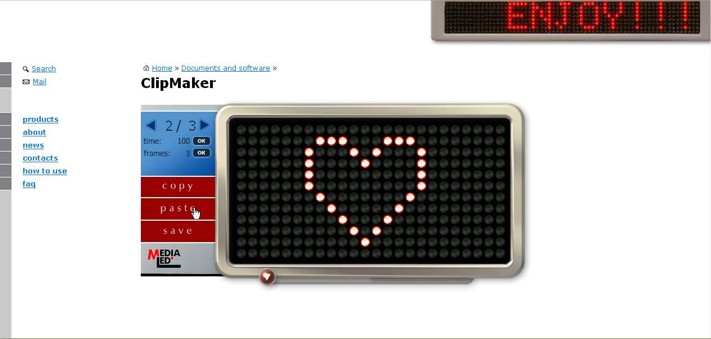
We create a second frame by coloring pixels.
-
After creation of this frame we determine its duration.
-
We proceed to the next frame.
-
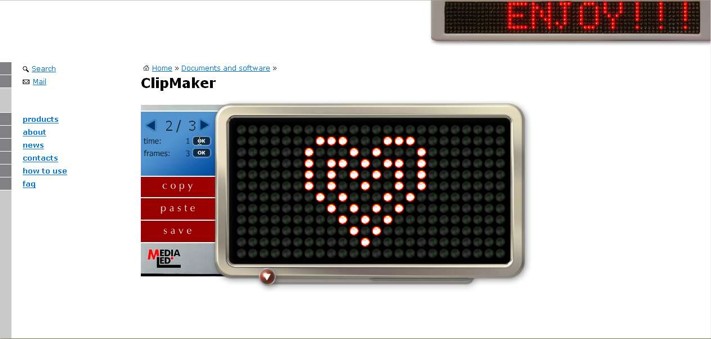
We create the third frame.
-
We determine the duration of the third frame.
-
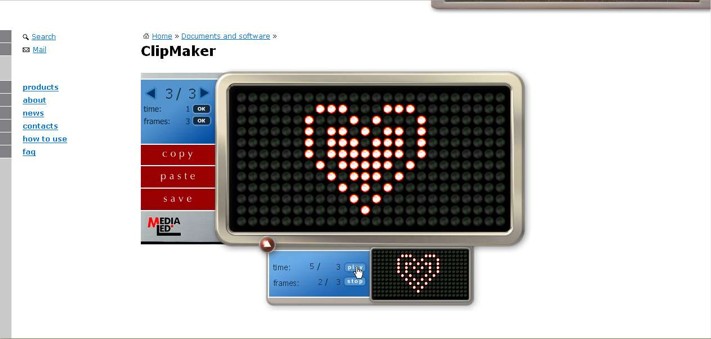
After the creation of a clip, before its upload it is desirable if you look at what you’ve done. For this, press red button with an arrow. In the opened window, press the button “play”.
-
If you are satisfied by your own creation, press “save” and save the resulted animation onto your computer’s hard drive.
-
Now we have to upload saved on your computer animation into LEDbuckle.
-
First, we have to rename the saved file. The first symbol in the file name has to be a number from 1 to 7. In accordance with this number, the new animation will replace the old one under the same number. After the number, there can go any word. The file extension should be “*.ani”.
-
Now we can send the new animation to the LEDbuckle. Turn the LEDbuckle on and bring its screen to the IRDA port on your computer. There will be Windows warning:” There is another computer nearby” and an icon “Send files to another computer” will appear on a desktop.
-
Now move the icon of the animation over the icon “Send files to another computer”. You can also send file by right-clicking and choosing in a pop-up menu option: “Send via infrared”.
-
After successful upload, move LEDbuckle away from the computer and you will see your clip on a screen of the LEDbuckle.


Download the Clip Maker manual in pdf format.